Web Embed Calendar
The Calendar Web Embed feature enables embedding your Calendar in the Practice Website and allows the Patients to view the Provider’s availability and book the Appointment by themselves.
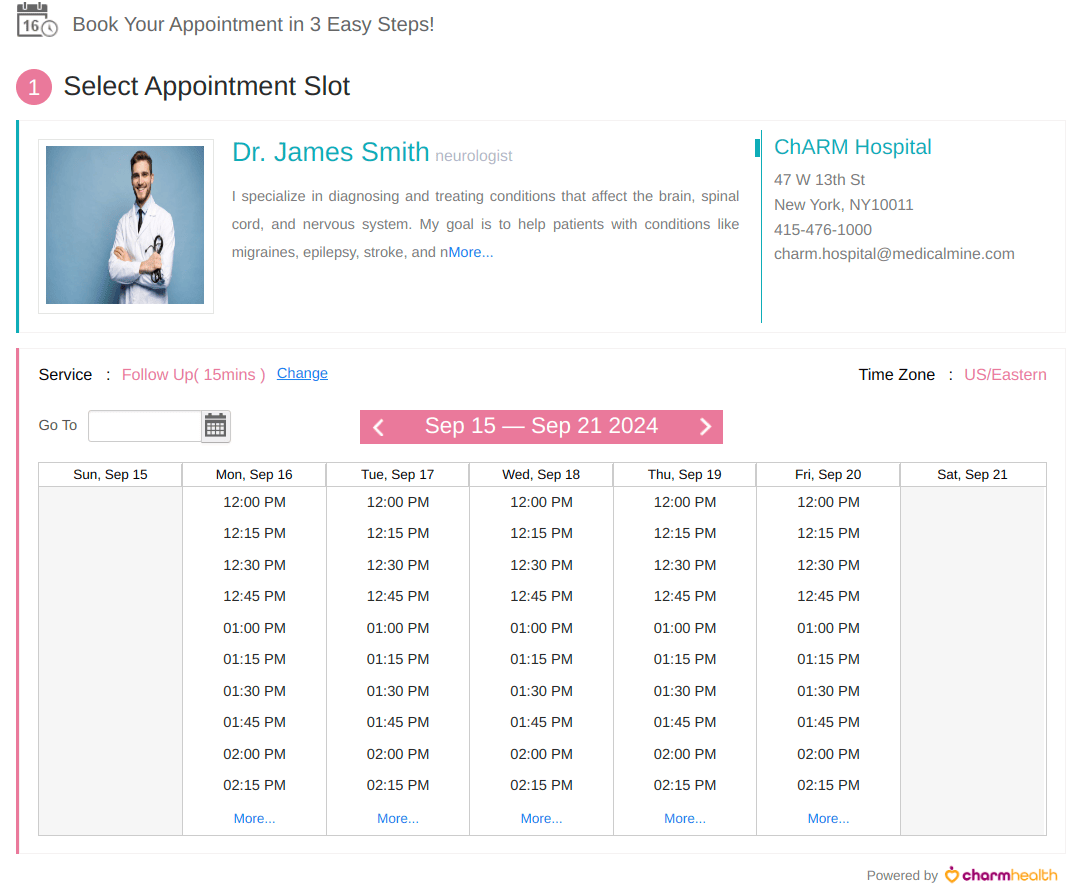
Follow the steps below to embed your calendar in the Practice Website.
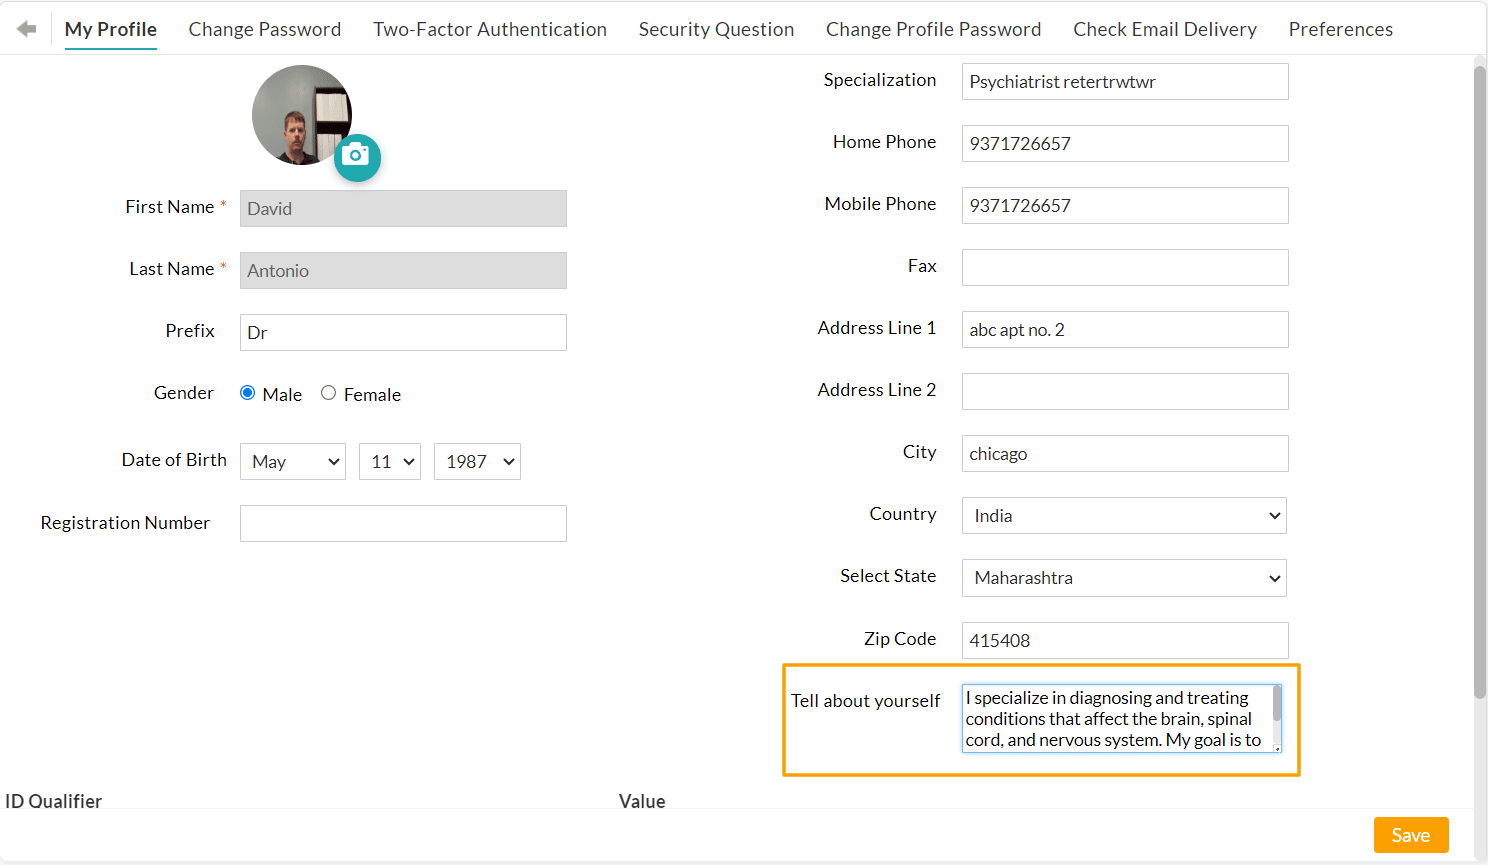
Tell about yourself
You can enter a few words about yourself to the Patients to know more about you.
Create Web Embed
- The Administrator of your Practice can create an embed code and include it in your Practice Website under the 'Settings > Calendar > Web Embed' section.
- You can create an embed code for a single Provider, multiple Providers, or without listing Providers.

- If you are choosing to create an embed code without listing providers, patients can only request for appointments without choosing a specific provider and time slot. You can also list the Visit Types and store the patient's credit card if required.
- Members configured under the 'Members to be notified' are notified when patients request an appointment.

Note - When card processing is enabled, patients' credit card details are collected and stored on file. Payments need to be processed by the practice after appointment confirmation.
- Enter the name of the hosting Website.
- Click on the 'Add' button.
- The Web embed code gets generated based on your configurations. Copy and paste the generated code into your website content to embed the calendar.

Embedded View
The Patients have to follow the below steps to book an Appointment from your Website.
- Choose the Provider.
- Choose the required time slot.
- Enter the Patient details.
- Fill out the Pre-screening Questionnaire if enabled.
- Confirm the Appointment.
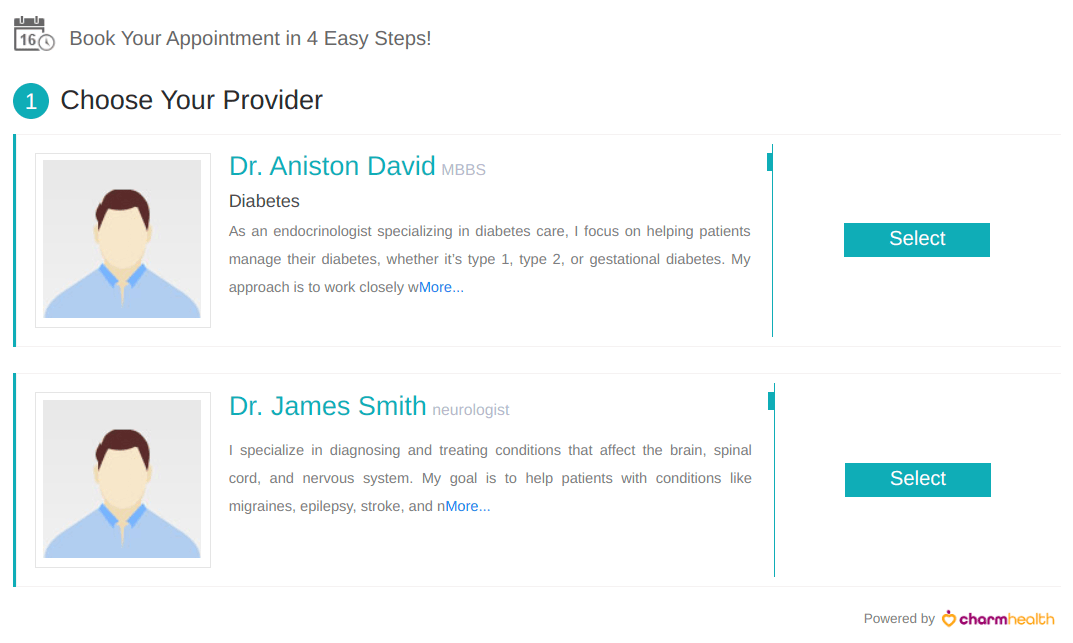
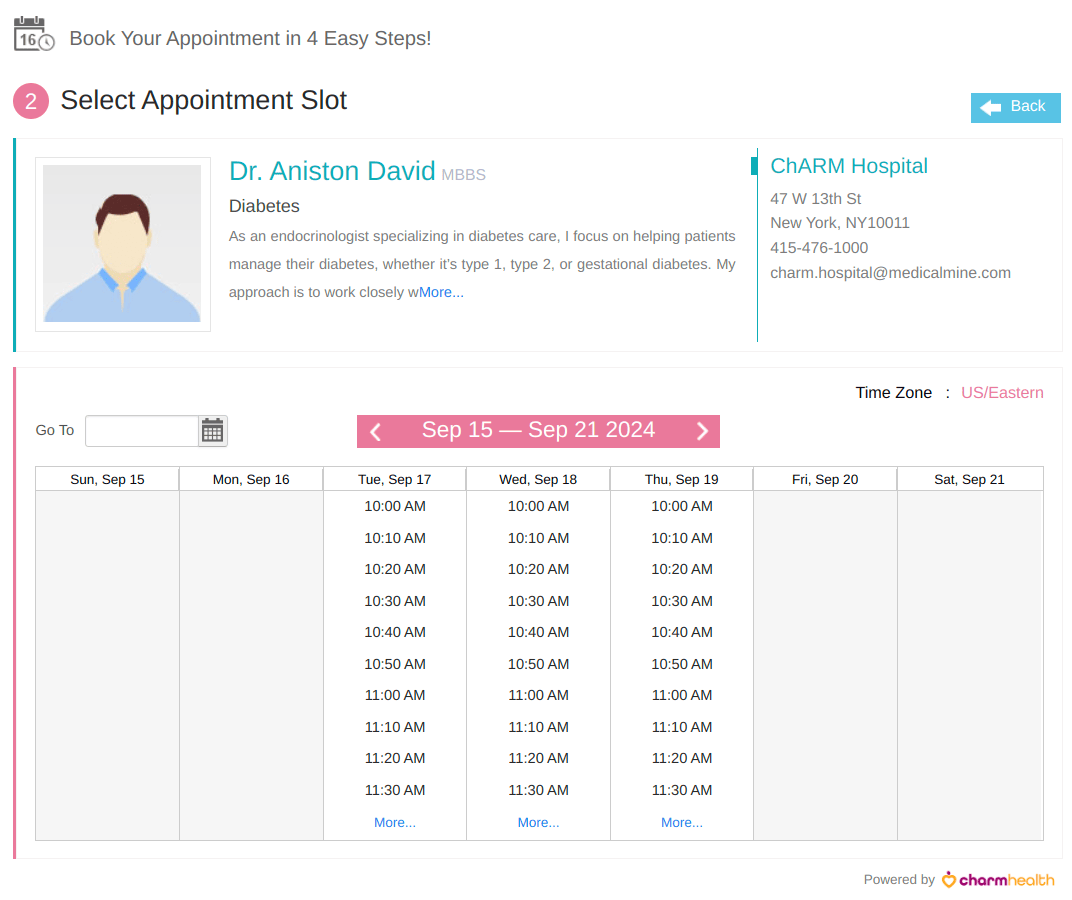
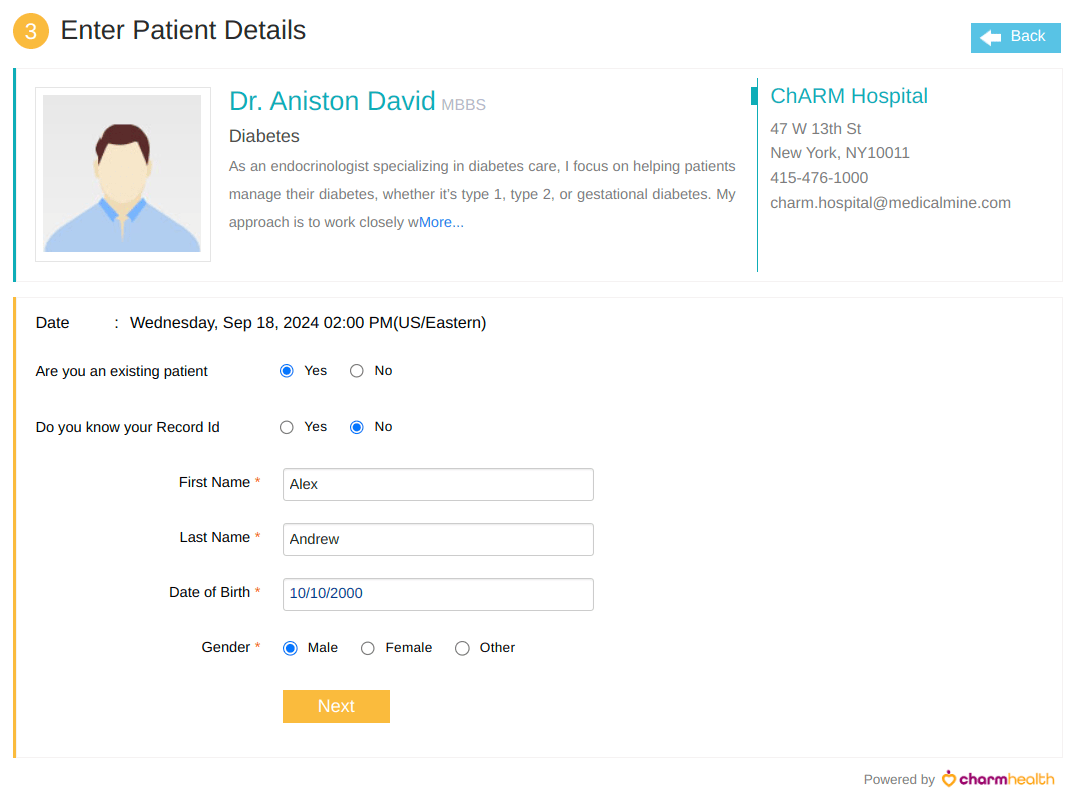
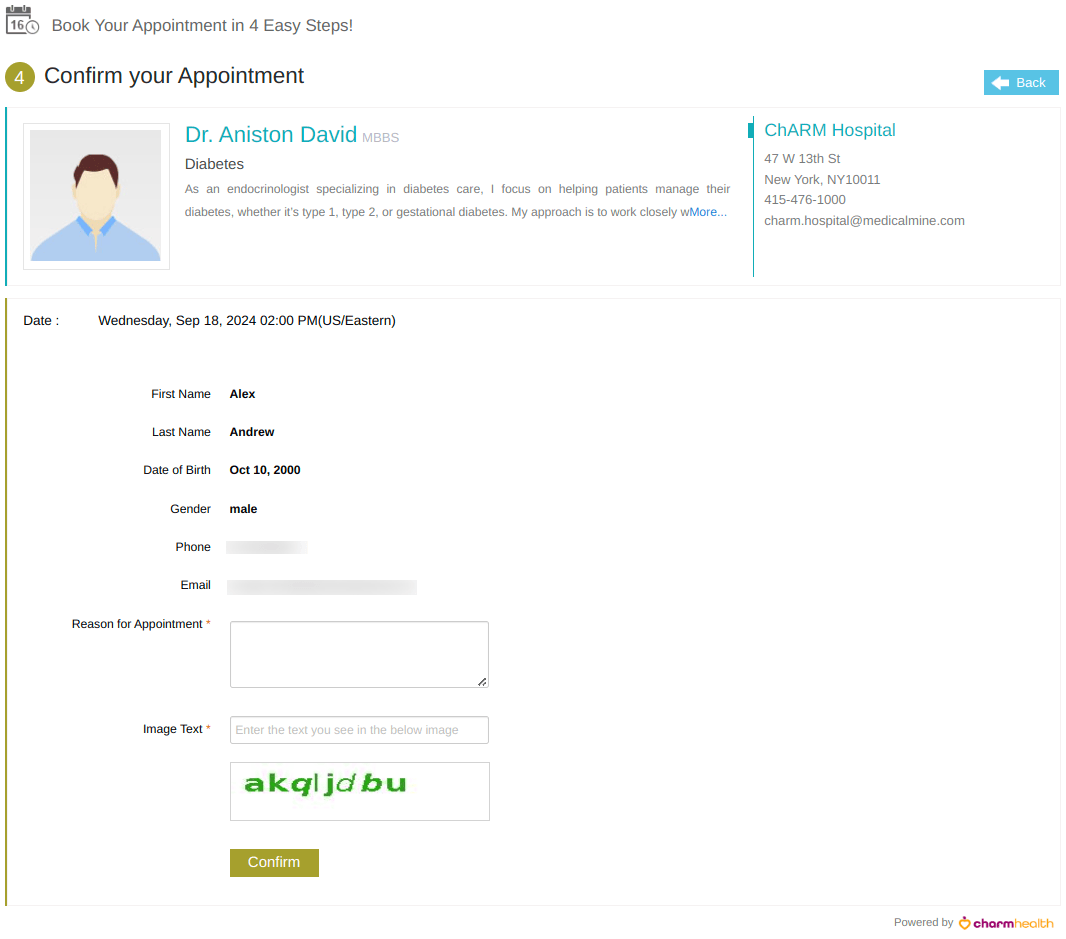
If an embed code gets created for a single Provider, the Patients have to follow all the steps mentioned above, excluding the first step (Provider selection).
If an embed code gets created without listing Providers, the Patients have to select the required Visit Type (if configured in web embed settings) and choose the preferred dates and time. Click the 'Next' button and continue from Step 3(Enter Patient details).
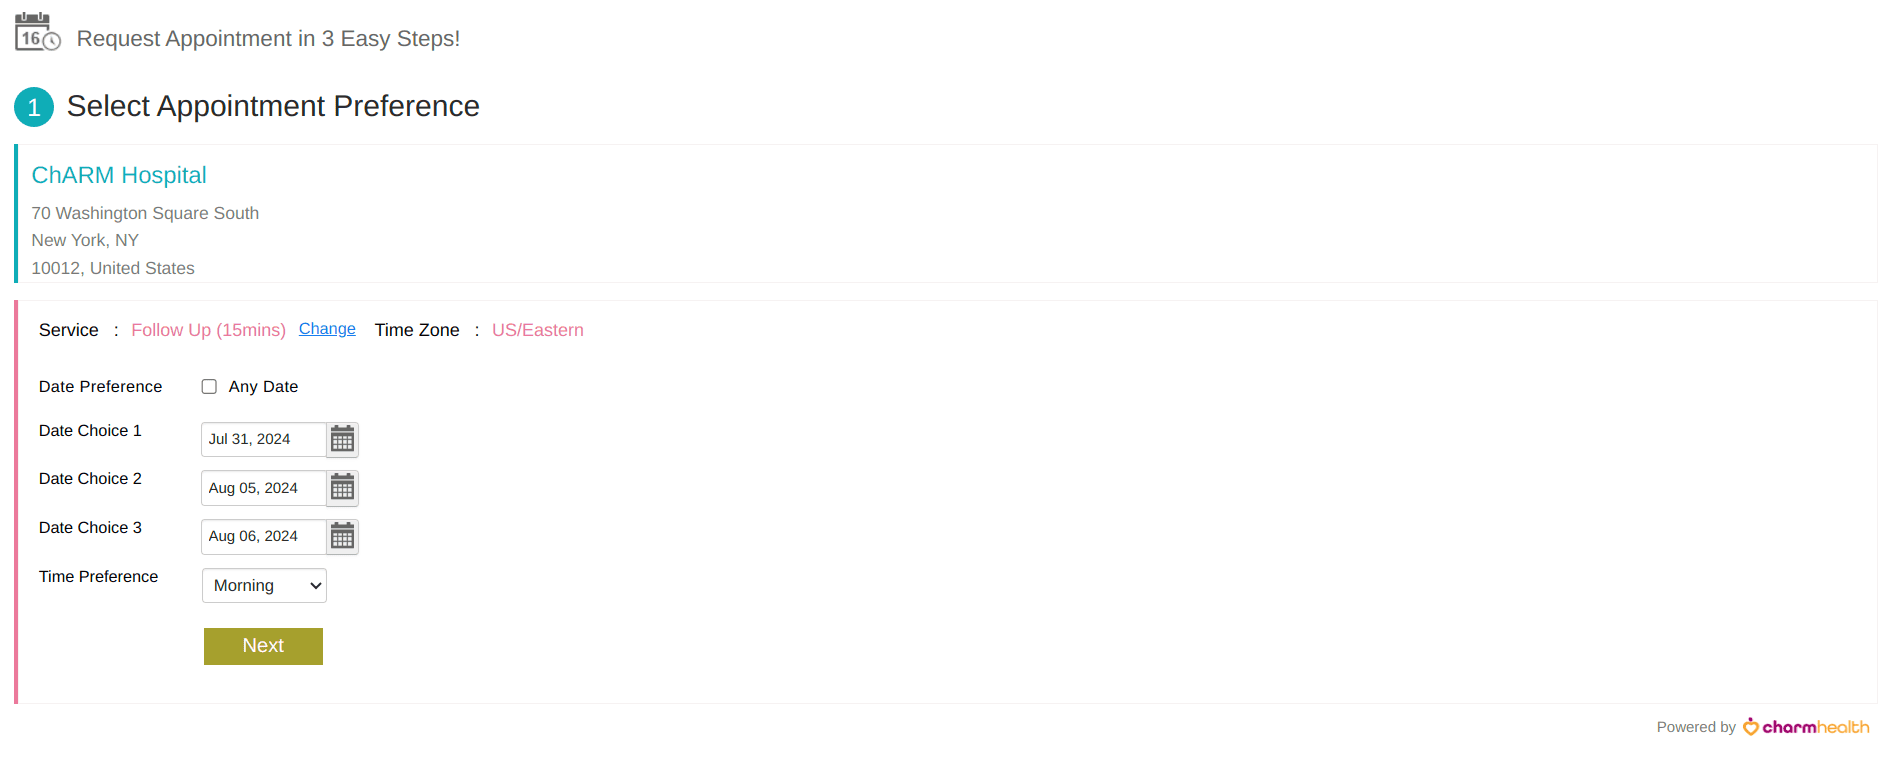
Patients will receive an email acknowledgment whenever they request an appointment from the web embedded calendar.

Assign Provider and Confirm Appointment Requests
If you have enabled web embed without listing Providers, Practice Members with the necessary role privilege can follow the steps below to confirm the appointment requests from patients.
- Go to the 'Calendar > Appointment requests' section.
- Click on the 'Confirm' link against the appointment request.
- In the 'Schedule Appointment' section, choose a 'Provider' based on the providers' availability and the patient's preferred visit type, date, and time.
- Click on the 'Confirm' button.

Patients will receive the appointment confirmation email with the name of the assigned Provider and appointment date/time.